AXI Visualizer: Animator
The AXI Visualizer: Animator is now available!
It includes tools for rigging, skinning, and posing any type of model.
You may need a zip extraction tool that can handle passwords. Contact us for a product key.
For troubleshooting go to the Help page.
Animation Basics & Guide
The most widespread technique for animating 3D models is called skeletal animation. Just like how our body is supported by bones and joints, a 3D model is attached to a rig that allows it to move and appear in various poses.
Skeletal animation is comprised of 2 major steps.
The first step is making the rig and skinning the model.
The second step is posing the model and exporting the poses. If different models share a similar rig structure, they can share poses.
This means that if you make running animation for one character, you can directly apply it to another character and it will look the same.
Now, open up the Visualizer and follow along. If you need a model to get started, see the sample resources page. Proceed to the first stage, Rig and Skin.
Rigging and Skinning
Making the Rig
A rig is made up of bones and joints. Each bone is connected to a joint, and together they make up the basic unit - the node - of a rig. These units can be chained together and combined to make complex skeletons.
Each node can have one or more children, and one parent. For example, your right forearm and elbow make up one node in your skeleton. Your right upper arm and shoulder make up another node. Since your elbow is attached to your upper arm, the forearm node is a child of the upper-arm node, and the upper-arm node is the parent of the forearm node.
As another example, your left hand and wrist make up a node. This node has 5 children: each finger is connected to your hand. This node's parent is your left forearm.
To create a rig, we first start with the root node. This is where all the other bones will grow from, either directly or indirectly. In humanoid models, the root node is usually at the hips.
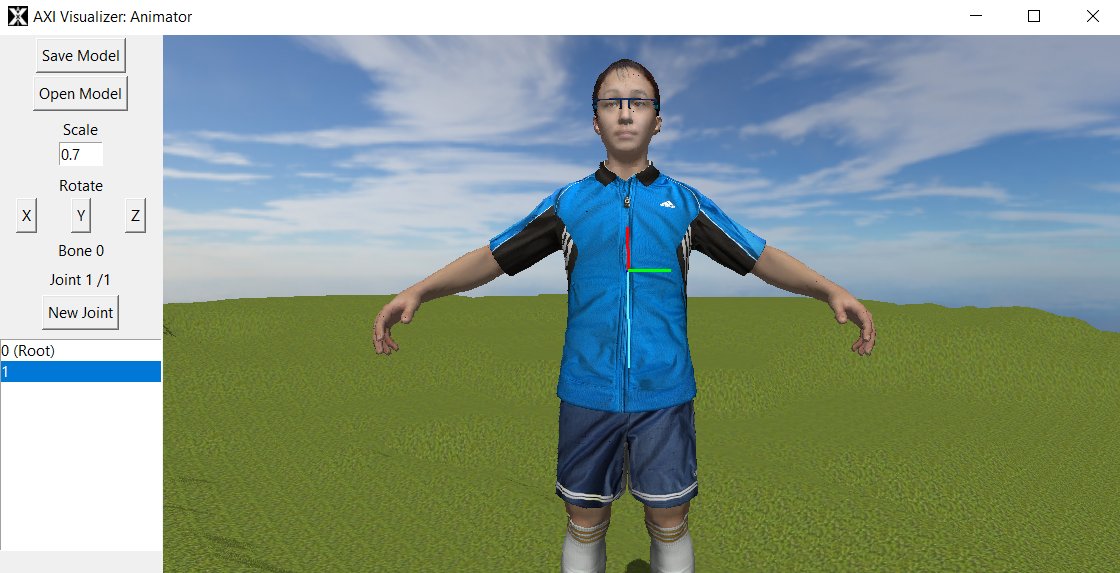
Press the Open Model button and select a model. If it is too small or large use the Scale box and press Enter to apply the scaling. To rotate 90 degrees across an axis press the X/Y/Z buttons below Rotate. You are now ready to create a rig.
Press the T key to pick up the root node, move it with your mouse, and press the T key again to drop the node near the hips.
Press the New Joint button or the G key to create a child node from the current node. This will appear as "1" in the joint list, and the indent will indicate that it is a child of the root node. Click on "1" or press the F key to select the new node.
Press the T key to pick up the node, move it with your mouse, and press the T key again to drop the node. You have made your first bone, between joints 0 and 1.
Now continue growing nodes and placing them until you have a suitable skeleton. Use I,K,L and Shift-I,K,L to face in the +/- X,Y,Z directions for easier alignment.
Press the Save Model button to save the model and rig.
Skinning the Model
Now that our model has a skeleton, we need to indicate which parts of it are attached to each bone/joint. The triangles in the 3D model will then form the skin on the bones we already defined.
If you downloaded one of our sample models, it is likely already skinned. Use Z and X to move through the bone numbers and press Bind Bone to Joint so that your joints match with the skin areas.
Select a joint, then press Z and X until the Bone # is the same as the Joint # (ex. Bone 1, Joint 1 /8).
Press E to enter the skin select mode. Move your mouse to the area near the joint. Press 1 and 2 to increase or decrease the selection radius.
When you click or click-drag, the highlighted area will be assigned to the currently selected bone (Bone 1), which will eventually move with the joint with the same number (Joint 1). In this screenshot the highlighted area will move with the upper body instead of with the hips.
For example, if the target joint is a shoulder, you should select the forearm.
For a simple rig, the skin might look like the gif image below.
Look around the model from different angles to make sure you haven't missed spots on the back. For complex areas like the lower parts of the hair in this model, press 2 repeatedly to decrease the selection radius. Press 1 to enlarge it.
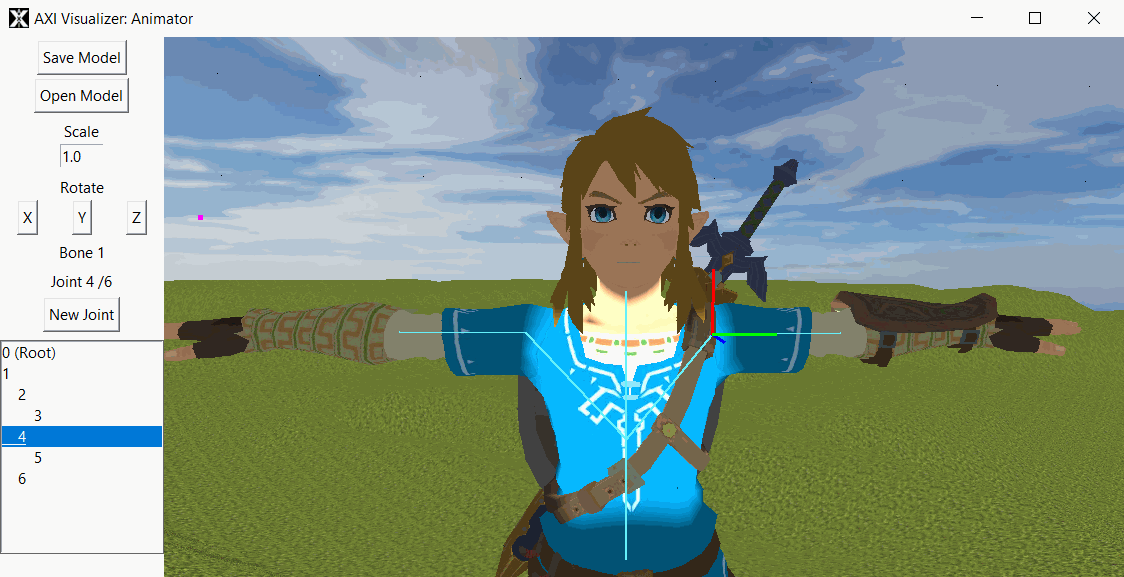
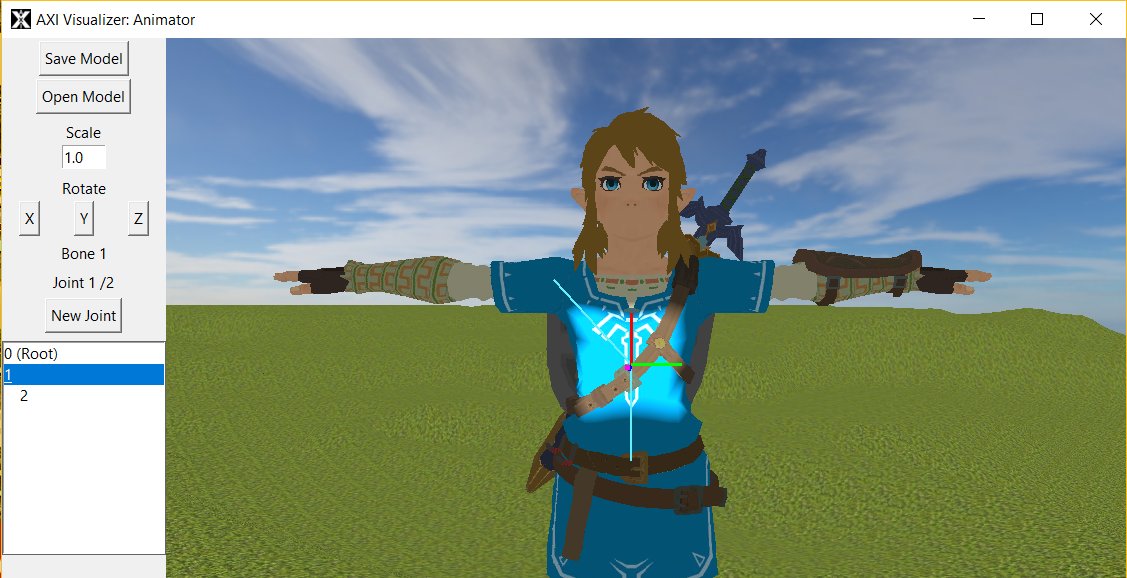
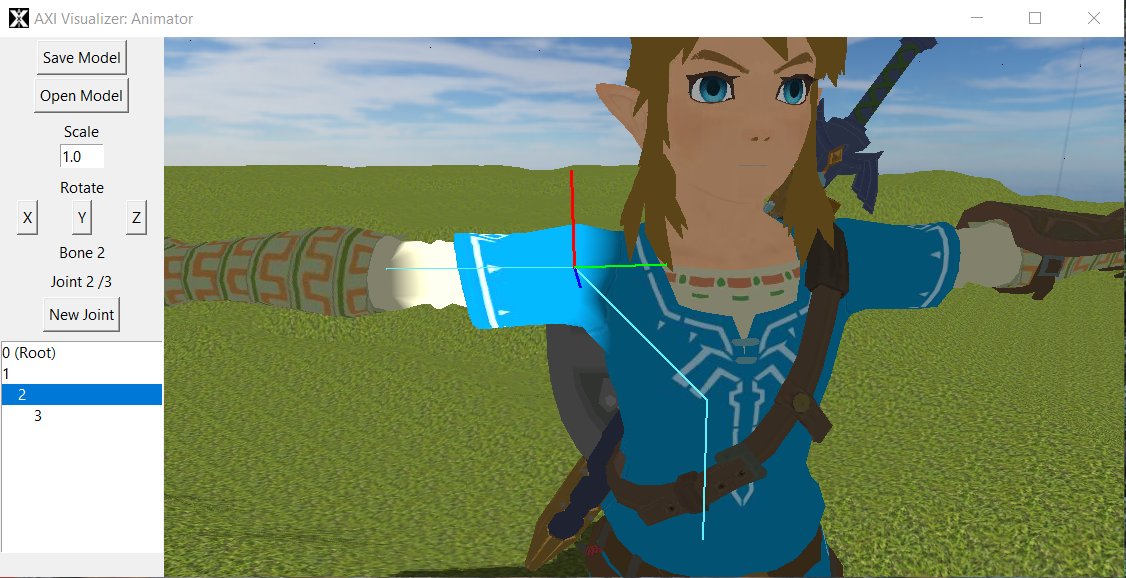
Posing
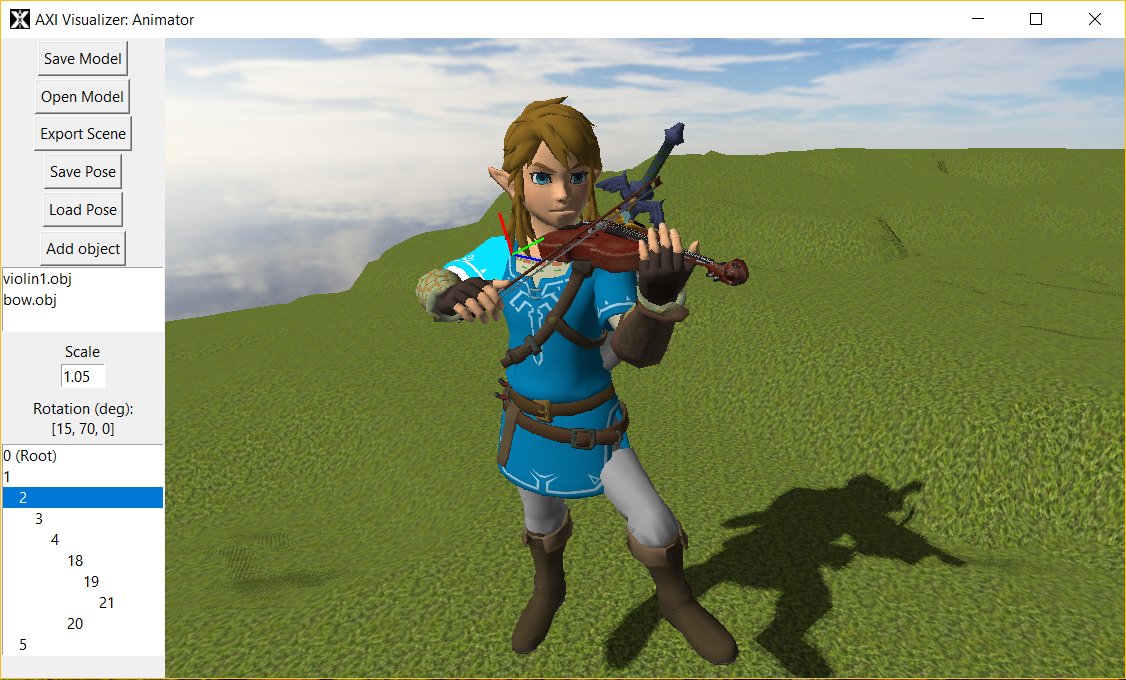
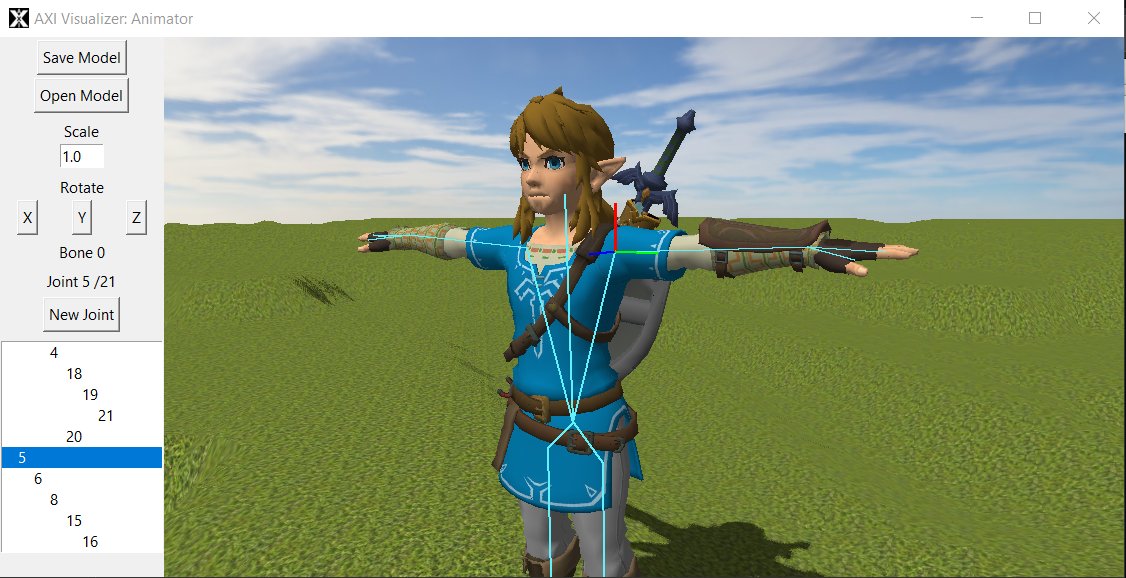
Open AXI Visualizer and select Pose. Open the model you have just created. The root node will start flashing, indicating that it is selected. Click on any of the other nodes to select them. Press the 1, 2, and 3 keys to rotate the selected node about its X, Y, and Z axes. Press 0 to reset the selected node's rotation. AXI Visualizer uses the Heading-Pitch-Roll convention, similar to flying an airplane.
Once you have put your character into a desired position, press Save Pose to save the rotation angles. The resulting .pose file can be applied to any other model with a similar rig structure.
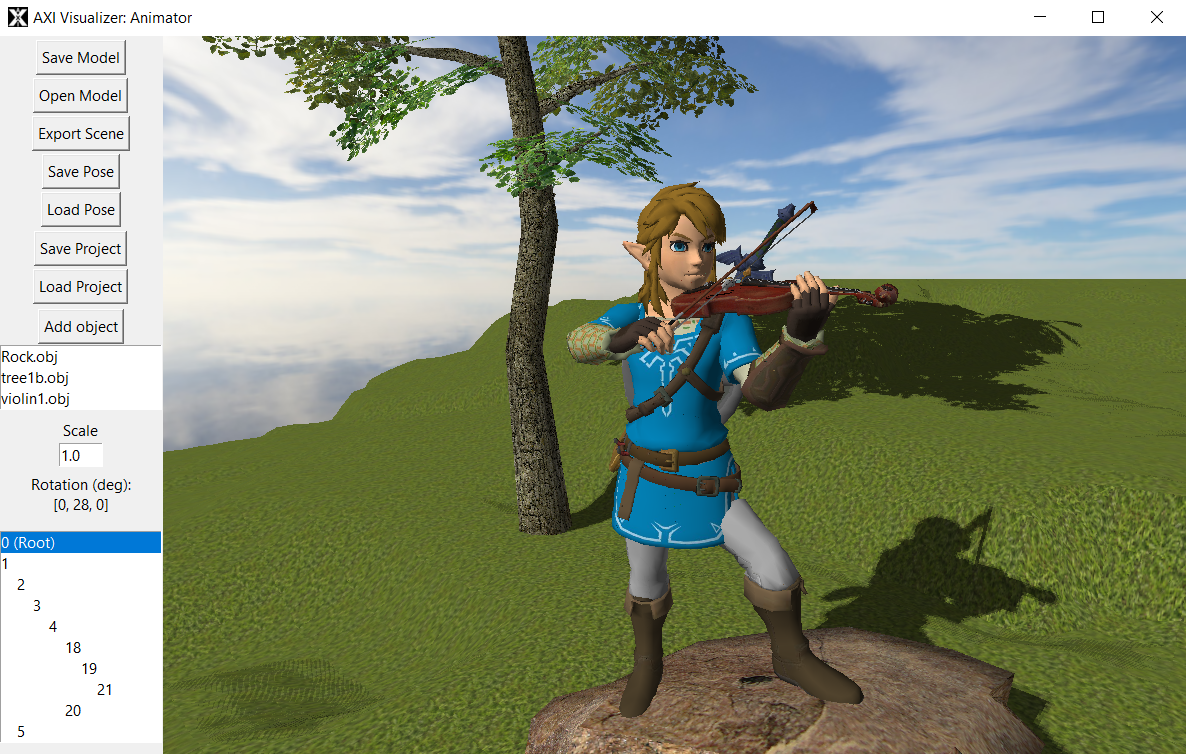
If you want to add props or other objects, use the Add Object button. To scale the object use the Scale field and press Enter to apply. To translate the object press T. To rotate the object use the 1, 2, and 3 keys.
Press Save Project to save the current scene configuration, including all props and their transformations. Use Load Project to resume editing a scene.
When you are finished with the scene, press Export Scene to export all of the objects and your character. The resulting .obj file can be viewed in any 3D viewer or modeling application. You can take screenshots by pressing F2. To disable/enable the XYZ axes press 4; to disable/enable the node flashing press 5.
For troubleshooting go to the Help page.
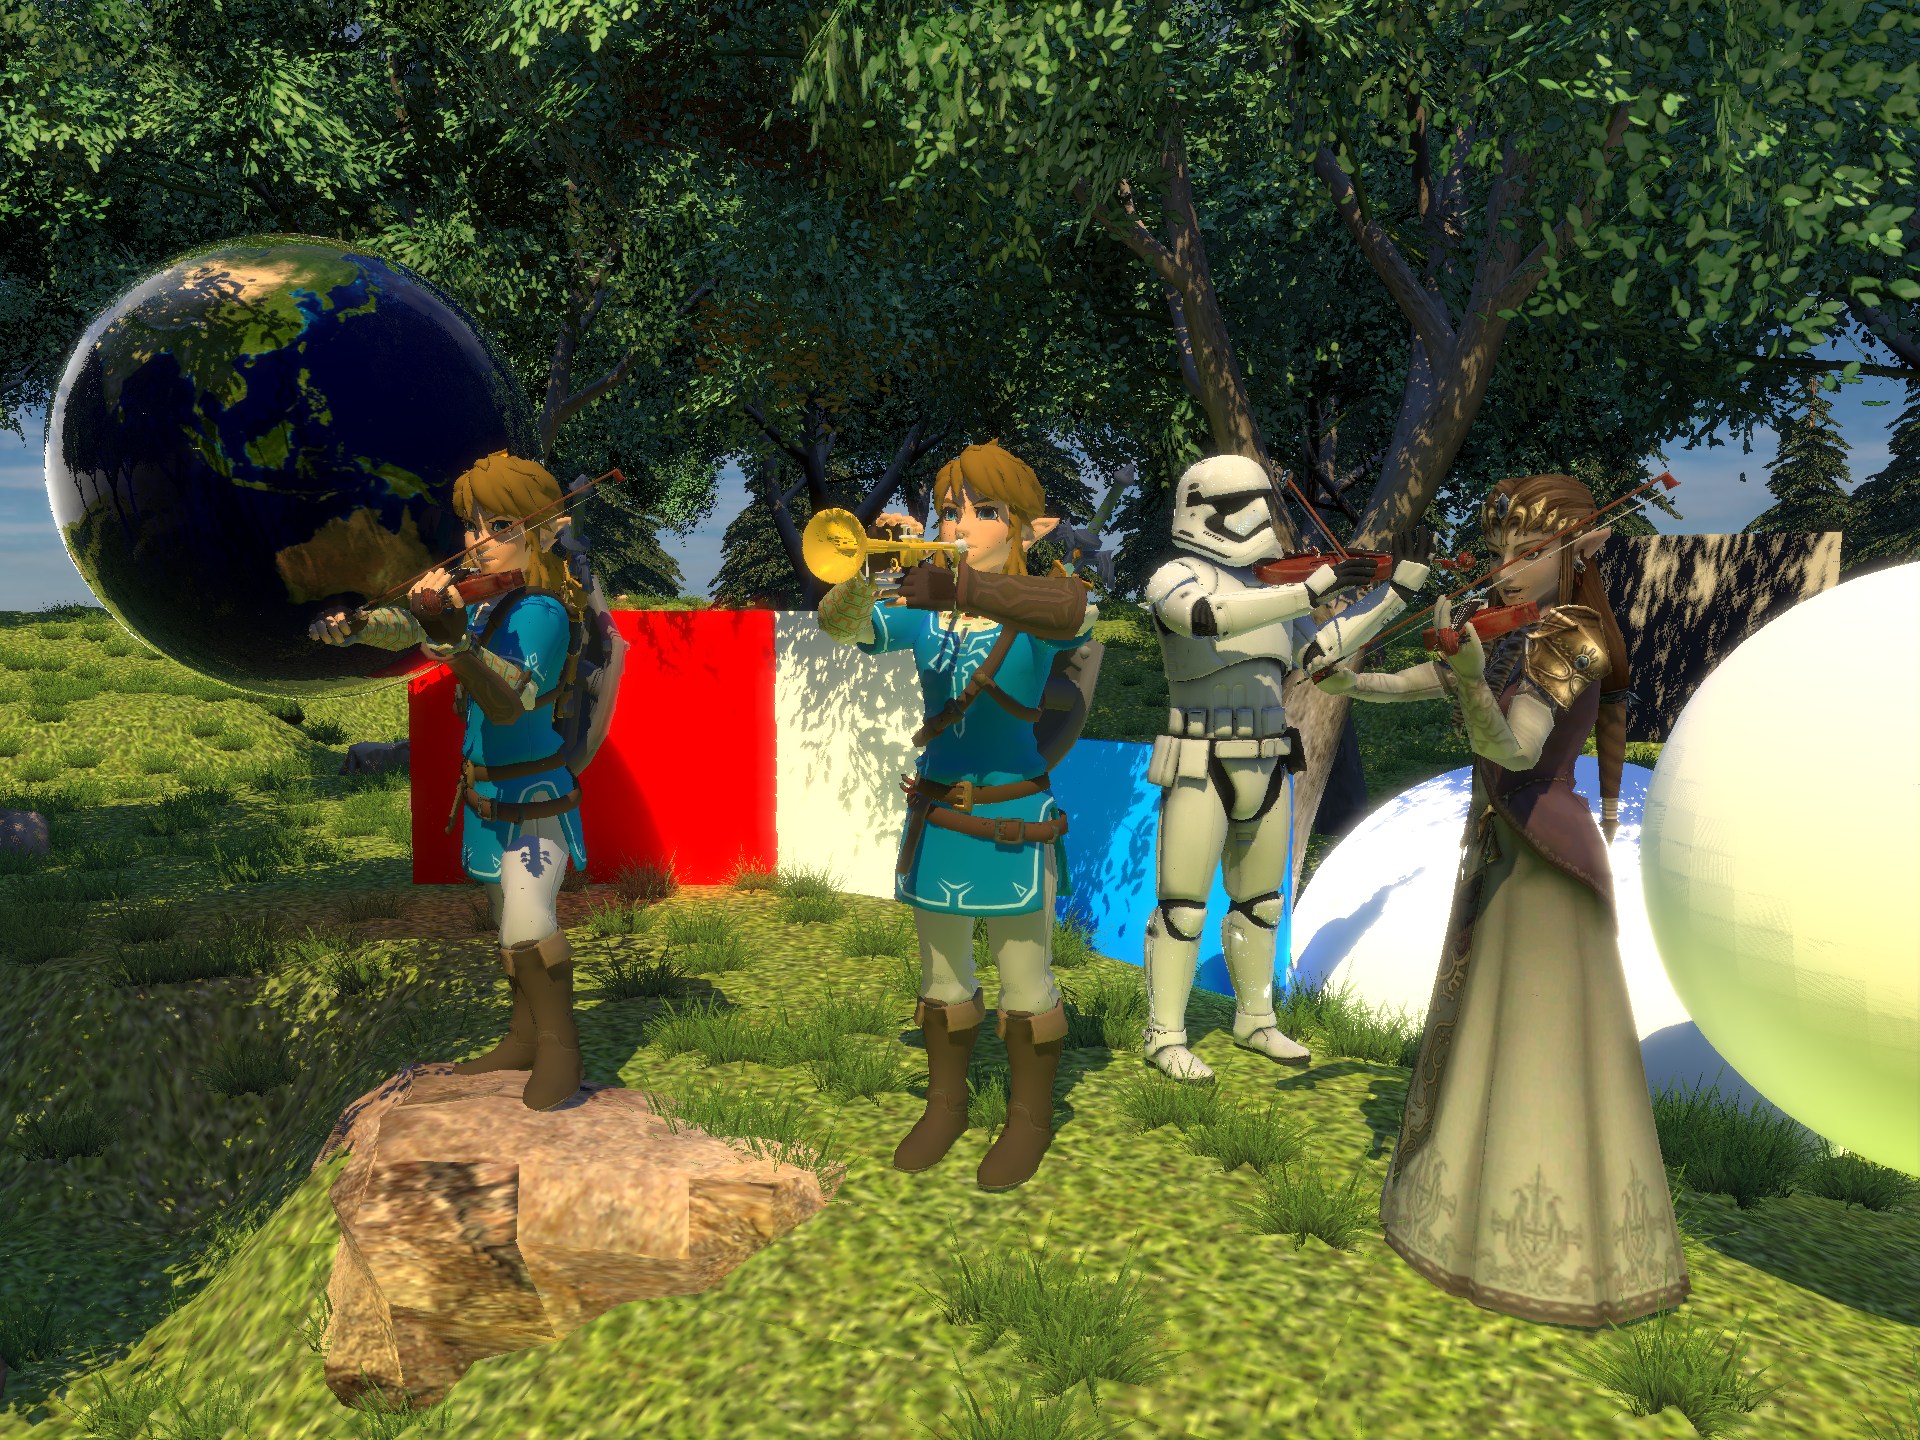
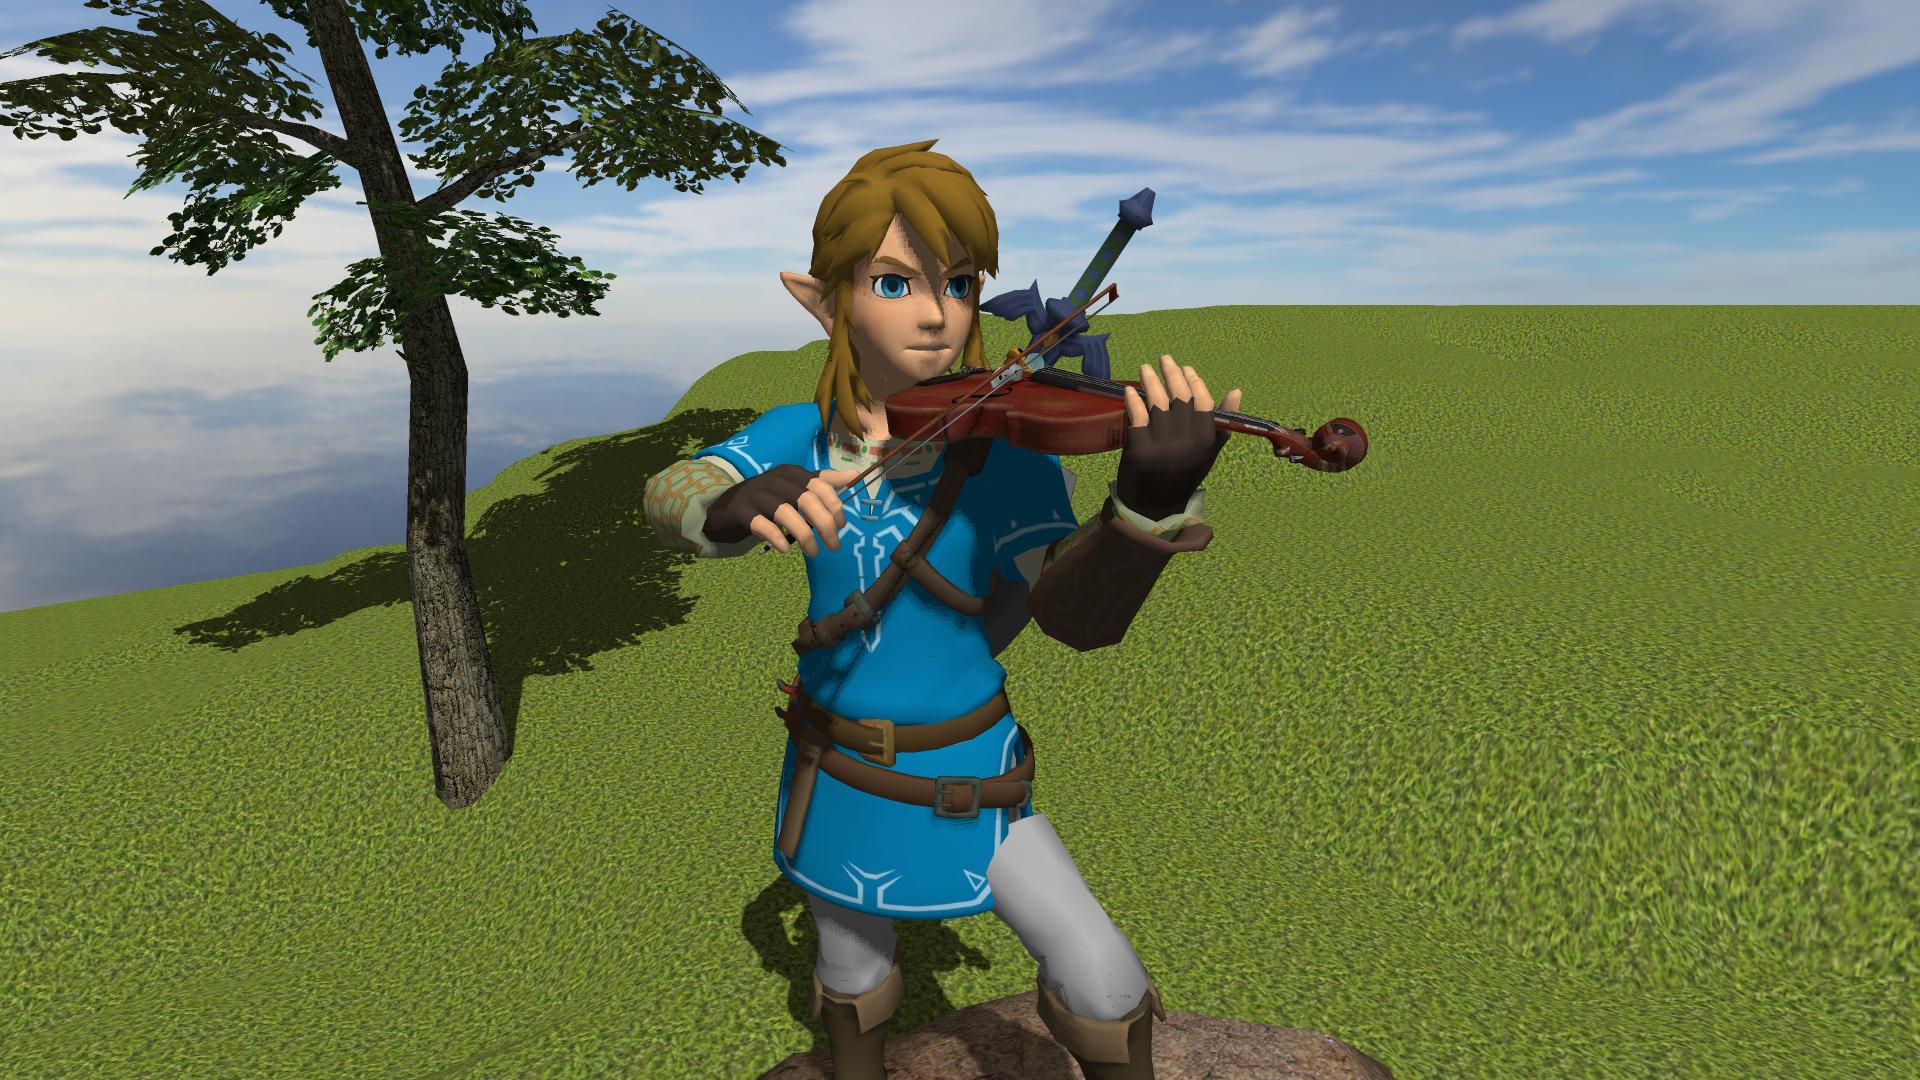
Here are some renders of Link playing the violin, made with AXI Visualizer.